You love your flowers and you want them to last forever? Here is an easy to follow guide in to make a nice and simple homemade Potpourri. Instead of throwing away those flowers that were bought for you, bring them back to life! Give them a chance to give another dose of the floral fragrance back in your home. The process is simple but can take some time depending on the technique you decide to use. We will be focusing on the natural drying technique only. Ready for an inspiring and creative workshop?
What you will need;
- Flowers,
- Essential oil,
- Any herbs or any other trinkets and decoration you want to add.
- A couple of containers for the storage and presentation.
- Rocks and a ribbon are a nice finishing touch.
Tip: Make sure that the flowers are fragrant and handle them with care as we do not them to bruise as this will damage the oil retention and ultimately shorten the life span of the potpourri.

Step 1 - Dry the flowers out
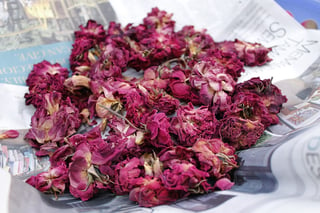
This can take up to 10-20 days depending on the variety of flowers. The way the flowers are dried is very simple. Simply tie some string around the bouquet and hang them upside down for a few weeks in a dry warm area. (Not a loft or attic as this will be too hot) If you have lots of bunches then hanging them on coat hangers is a handy storage tip.
Step 2 - Add essential oils
Once they have dried out simply cut them at the bud and put them in a container, which can be sealed, and add some essential oils. What oil you add is up to you, there are some great recipes out there and usually, a couple of drops of 3 different types is perfect. One will be more dominant than the others but the effect is fantastic. Yet 3 is a maximum! This may take some trial and error so for starters it will easier to use recipes that other people have had success with. Once the drops have been added seal the container and let the flowers soak up the oils for a couple more weeks. Give the flowers a stir every couple of days this will give the flowers a nice even spread of the oils.
Step 3 - Displaying your potpourri
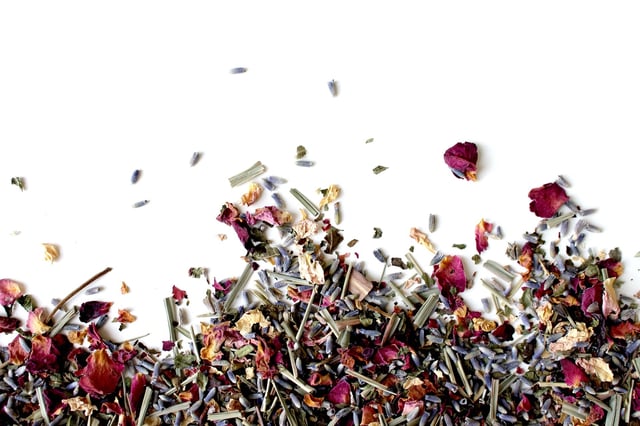
Once this has been done then your potpourri is ready to be finished off with your personal touch. Be careful not stick your nose in the container as the scent will be very strong! Have you nose about 15-20cm away from the container and the aroma you have created will be ready for displaying. Complete the aroma with a bit of lavender and will give the potpourri a nice kick.
Additional tips and ideas
For a splash of colour thin slices of orange, lemon or lime which have been dried out at the same time add a beautifully different texture to the potpourri.
With a bit of judgement, the potpourri can be placed in a subtle area a room and effect is fantastic.
The more you make simpler the process will become.
To speed up the drying process you can put the flowers in an oven at a low temperature for a long time, 7-8 hours, but this can burn, scorch the flowers and cause them to become to be very delicate and break, but does ultimately speed up the process massively.
Every flower will give off a different fragrance so pick flowers that are a favourite and you know that will go together really well – Roses are a favourite in potpourri.
The fragrance of a floral bouquet can live on for longer than you think. Don’t hesitate to share this with your friends and suggest potpourri before they throw them away!


