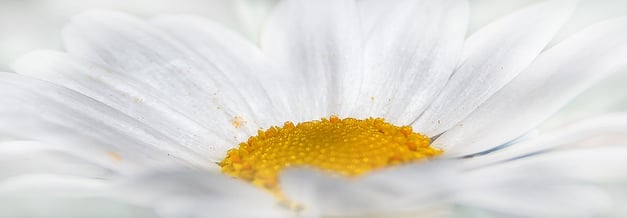
If your beautiful bouquet of flowers is nearing its end, instead of throwing them out to the compost bin, try these easy methods of flowers pressing to enjoy your favourite blooms for longer.
Flower pressing has been used for centuries to create art, jewellery and keepsakes. There are many methods that can be used when pressing flowers, below are our favourites. Fresh flowers obviously work best when pressing, but older flowers can be used.
The Old Fashioned Way
Book Press – This simple method is also the longest to see results. Simply take the bloom of your choosing and place inside a heavy book, leave for 4-6 weeks to fully dry and carefully remove. Simple.
You will need:
- A Heavy book (Please note that the colours of the flower may run and the book may be damaged by the moisture in the process, so don’t use a signed first edition of your favourite novel)
- 2 Pieces of paper
- 2 Pieces of card
- A weight
- A wait
Method:
1. Pick your bloom of choice
2. Place this bloom in the centre of your chosen book in this order; Paper, Card, Flower, Card, Paper
3. Carefully close the book
4. Label the book (it’s easy to forget once you start pressing many flowers)
5. After 4-6 weeks, your pressed flower is ready to view.
6. Enjoy all your hard work and patience.
The Modern Way
Microwave – The modern and significantly quicker way to press flowers. You are able to dry and press flowers in the microwave with relative ease, although it can certainly take a few tries.
You will need:
- A Microwave*
- A Non-Metal Base and Top to place your flowers between (Ceramic tiles are best)
- 2 Pieces of Card
- 2-6 Rubber bands to hold the tiles together
Method:
1. Pick your bloom of choice
2. Place this bloom in the middle your tile along with the card in this order; Tile, Card, Flower, Card, Tile
3. Secure the tiles using your elastic bands
4. Place in the microwave* on a low setting
5. Microwave for one minute at a time, checking your flower each time to see if it has dried.
6. Once dried, carefully remove the components
7. Enjoy your freshly pressed flowers.
*Please note, as mentioned before, you should NEVER put anything metallic in your microwave*
The Quick Method
The Iron Method – Similar to the Microwave method, the iron eliminates the time factor from pressing your flowers.
You will need:
- An Iron
- A suitable surface to press your flowers on. Flat, even and suitable for an Iron to rest on
- Absorbent Paper
- A Heavy Book
Method
1. Pick your bloom of choice
2. Use the heavy book to flatten the flower or stem
3. Place one sheet of paper on a suitable, flat surface followed by the flower and then another sheet of paper; Flat surface, Absorbent paper, flower, absorbent paper
4. With a medium heat on the iron, press down evenly on the paper for 15 seconds
5. Remove the iron and let your flower cool back down again
6. Repeat steps 4 and 5 until your flower is devoid of all moisture
7. Once dry carefully remove the top layer of paper and let the flower sit for a few minutes
8. Enjoy your beautiful pressed flowers.
If you find a flower that you would like to save for a later date, remember you can dry it out for later use. There are several methods to drying flowers and each have the same end result.
One thing to remember when pressing your flowers is; Practice makes perfect. You are going to make mistakes, but that’s all in the process of homing your skills and finding the methods that work for you. Remember to have fun, you’ll be a pro in no time.


